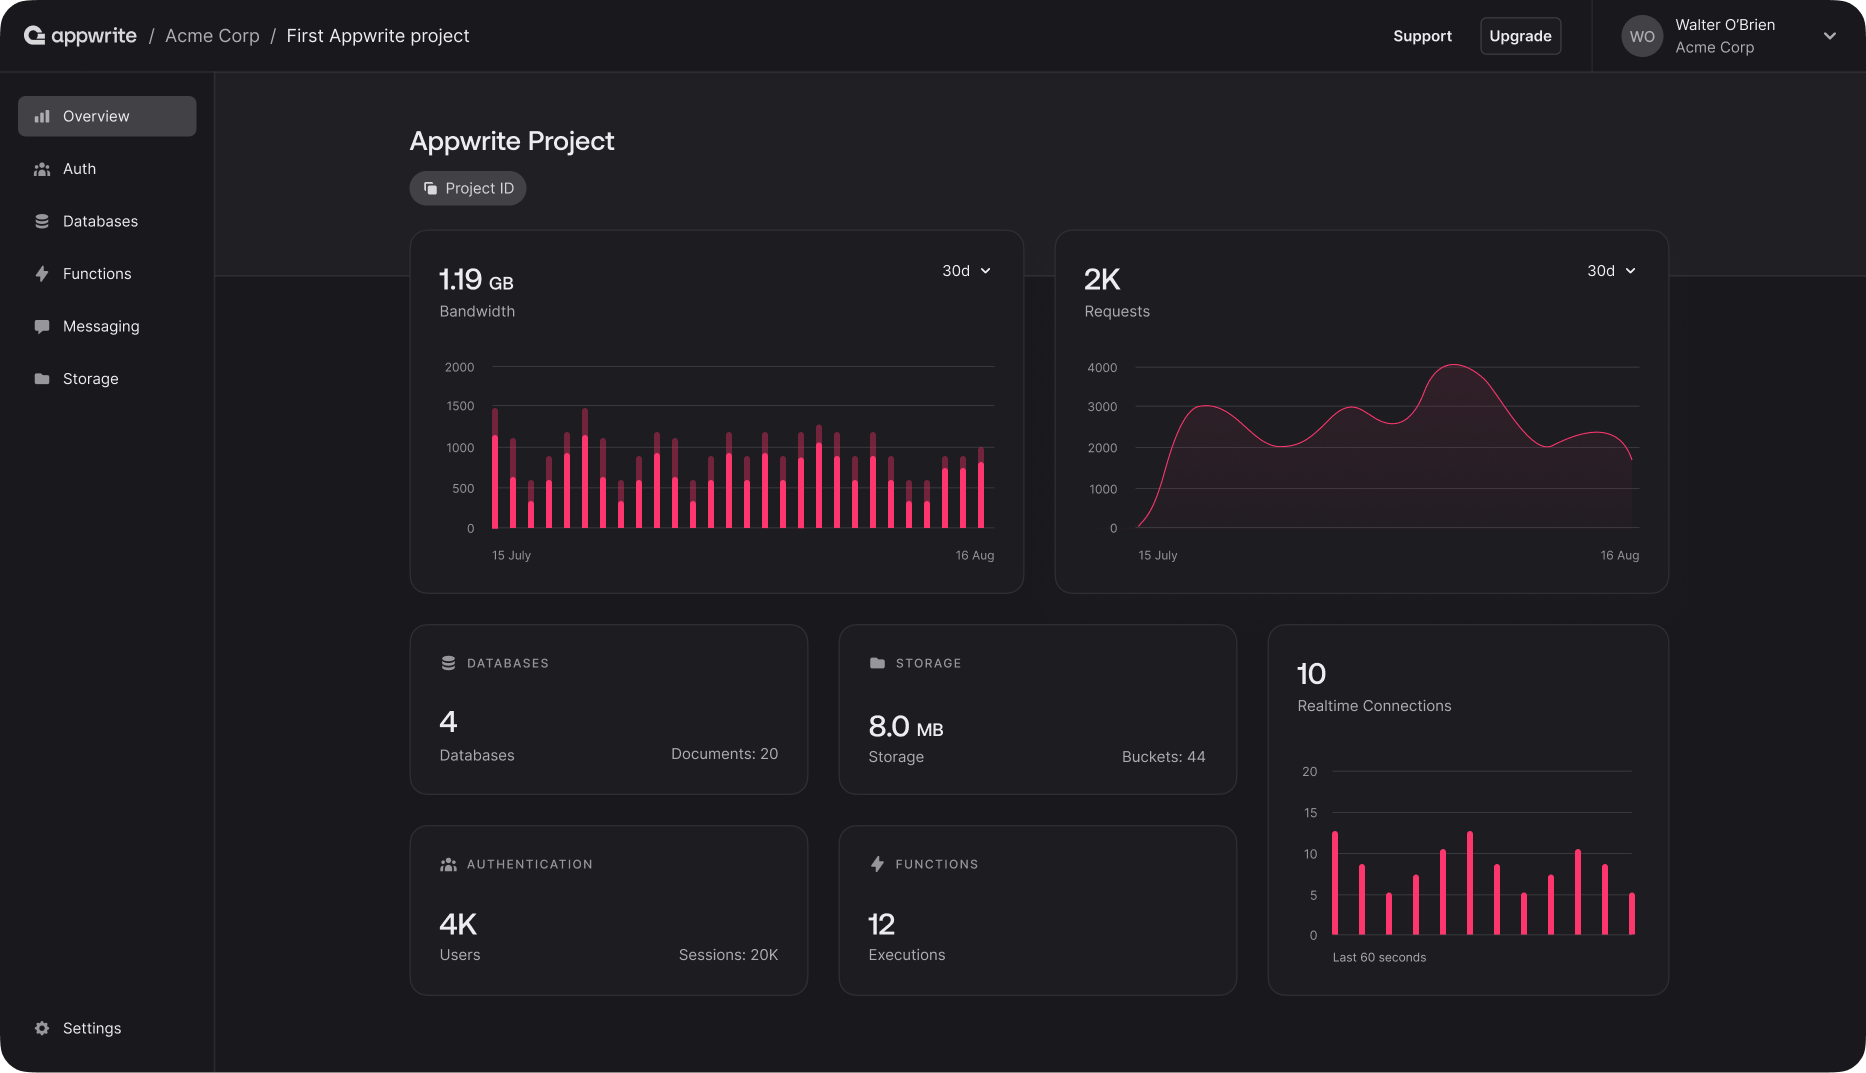
Appwrite: Open-Source Backend as a Service

The backend is a crucial part of any modern application. Whether you're building a website, mobile app, or other software experience, it can be incredibly difficult and time-consuming to develop features like authentication, file storage, and database management. As a result, many software teams find themselves relying on expensive solutions like Google's Firebase or Amazon's Amplify. However, it doesn't have to be that way! Appwrite is an open-source, self-hostable backend as a service (BaaS) meant as an alternative to these costly managed services.
How Not to Install Docker
To explore the capabilities of Appwrite, I'm gonna spin up an Ubuntu EC2 instance on AWS. Appwrite has modest requirements, needing only 4GB of RAM at minimum. It's built entirely on the Docker Engine, meaning any operating system that supports Docker should also support Appwrite.

After installing Docker, installing Appwrite is just a single command. You can find the instructions here.
Getting Started
The first step is to create an organization. An organization stores all of your projects and the members working on them. An organization has a human-friendly name and an ID. If left blank, the ID defaults to a randomly-generated string of characters.

Creating a Project
The organization overview doesn't have much, so let's move on to creating a project. A project is where you organize all of your data within an organization, including auth, functions, databases, files, etc.

Creating our Sample Code
To be able to fully evaluate the offerings of Appwrite, I'm going to be building a sample NextJS web application. The aim of this post is to examine Appwrite not NextJS, so I'll only show relevant code snippets.
Before I do that, I need to set up a platform in the Appwrite console. Aside from websites, Appwrite supports apps built in Flutter, React Native, or apps built natively on iOS or Android. I'm going with a website for simplicity, but features are mostly the same across the different platforms.
Setting up our web platform in the Appwrite console.
Then, I'm going to use the create-next-app CLI to set up a boilerplate NextJS project.
Disabling TypeScript because it makes things more complicated than we need for our purposes.
Now if I check Finder, we'll see that my project has been scaffolded in a new folder and is ready to use.

Before I can use the backend, I need to install the Appwrite SDK for Node.js. It also needs to be told where to find the backend server. To get the API Endpoint and the ID of our project, let's go to the project settings and copy the data into our appwrite.js file.

import { Client, Account } from "appwrite";

export const client = new Client();

client
	.setEndpoint("https://appwrite.tenbyte.org/v1")
	.setProject("670c9f1200077cae9907");

export const account = new Account(client);
export { ID } from "appwrite";
Configuring the Appwrite SDK for use with our server.
Finally, we need a login/register page. This is not a tutorial, so I won't show the full code, but I will highlight a few important functions:
import { account, ID } from "./appwrite";

const login = async (email, password) => {
	const session = await account.createEmailPasswordSession(email, password);
};

const register = async () => {
	await account.create(ID.unique(), email, password, name);
	login(email, password);
};

const logout = async () => {
	await account.deleteSession("current");
};
Three key functions for implementing auth.
Login
Our login function is using the createEmailPasswordSession method of the Appwrite SDK. This is just one of the many authentication methods available, such as phone numbers, magic links, and OAuth.
Register
The registration function is quite basic, and isn't very interesting. However, notice that we never check if the email already exists before attempting to create the account. We don't need to do this check because the backend does it for you. This is a great example of how using a managed backend like Appwrite greatly simplifies your development.
Logout
The logout function is also quite basic, simply deleting the current session from Appwrite's database. By storing sessions in the database instead of using something local like a JWT, you can create security features such as a "Log out of all other sessions" button.
Testing Authentication
A quick demonstration of our test app's authentication flow.
Nice! After about ten minutes, we have a fully-functioning auth system with pretty much all footguns and potential security problems handled for us. Additional features can be implemented straight from the Appwrite web console, such as:
- A user limit
- Useful if you want something like an exclusive early-access user group where only a certain number of people can register
- Maximum session lengths
- Maximum active sessions (per user)
- Blocking registrations that use one of the 10,000 most common passwords
- Alerting users when a new device signs in
...And a lot more.
Functions
"Appwrite Functions are user-defined functions that can start small and scale big, deploying automatically from source control." - Appwrite Docs
They're analogous to AWS Lambda functions. It's like writing a code snippet and having it run every time something in your backend happens. For example, if you want to email a user once an invoice is created for them in the database, functions would be a perfect solution. The ability to respond to database events is powerful and allows you to do complex behaviors without much effort. Let's try creating a basic function.

JavaScript is cool, but it has pretty awful performance compared to other languages. To mix things up, this function is going to be written in Ruby.
After our function is created, Appwrite begins building a Docker container to run it in. Depending on your function complexity and dependencies, this could take a while. For our simple demo function, the build took 30 seconds. While a new version of a function is building, traffic is still routed to the old version and processed as normal, meaning that code updates have zero downtime.

For a real function, you might want to connect it to a domain to call it externally such as from a Stripe webhook. However, because this is just a test function, we can run it directly from the console using the "Execute" button.

Cool!
Data and File Storage
What about storing user data and files? Appwrite comes with a document database engine similar to other NoSQL databases like MongoDB. To use it, let's first create a database in the console that stores our collections.
Collections?
A collection is a type of data. For example, Twitter would have a "tweets" collection to store user posts. They're essentially just JSON objects, similar to other document databases. However, unlike other document databases, all items in a collection must follow a schema made up of "attributes". Attributes can be basic data types like strings and booleans, but Appwrite also has validation for special types such as URLs, emails, and IP addresses.
Now that we have the fundamentals in theory, let's apply them. I'm going to build a basic app that allows users to make posts and upload files. Let's start by creating a database.

Then, let's make a collection for our posts.

We also need to set up attributes for this collection. In our case, we'll have a title, description, and optionally a file ID and URL.

Since we're going to be storing files, let's make a bucket while we're at it. A bucket is simply a place to store files. It's basically the same thing as a bucket in AWS S3. Appwrite buckets have additional features such as anti-virus scanning and encryption.

We need to set up permissions for both our database and our storage bucket. Since this is a demo app, we're just going to allow anyone to create, read, update, and delete both data and files.

Now that Appwrite's side is all set up, let's test out the functionality using a quick demo app I wrote.
That's pretty cool! The frontend is able to react to changes in the database in real-time within milliseconds via a WebSocket connection. Also, notice that once I delete the posts, the files are no longer available because they're being deleted from the database and the storage bucket. One downside of using a document database over a relational database is that these transactions are not atomic.
Before deleting the files, here's what showed up in the console:


Final Thoughts
To conclude, Appwrite is a great open-source platform to host your backend. With support for everything from auth and functions to data and file hosting, it works for pretty much every use-case. Having 15 SDKs and a fully documented REST API, Appwrite is a great stack-agnostic solution to quickly prototype and develop all kinds of software. If you're looking to try something new, I'd definitely recommend it for production apps.


